How to take reference photos for 3D modeling: A practical 10-step guide for brands and creators


Gone are the days when you had to guess for hours to get the perfect 3D model. With clear and accurate reference photos now, the process feels more like precision than trial and error. Industries no longer have to rely on their creativity. Reference photos give businesses a starting point, save them time, and enhance results.
At every level of modeling, from making product mockups to making virtual prototypes, reference images speed up the process and make sure it is done correctly. There is more to it than just better graphics. It has to do with being smarter. Using the right photos, brands can turn ideas into high-quality 3D assets faster than ever.
{{component="/internal/widgets"}}
Why are reference photos needed for 3D modeling?
In 3D modeling, reference photos are images used to create accurate and detailed virtual models. They provide vital information about an object's size, shape, and texture, ensuring that the finished model seems realistic. These photos provide modelers with a solid visual basis, allowing them to see small details that they may otherwise overlook. Moreover, the use of reference photos will speed up the modeling process.
Creators can put together their work with dimensions found in real-time to increase correctness. When an artist is modeling a product, for example, having many reference images from various angles helps them understand its form better. And helps to create a 3D model that looks real. Also, this technique makes the model more realistic and saves time by minimizing the number of adjustments that must be made.
Reference photographs capture small characteristics such as surface defects, changes in hue, and material attributes important to constructing lifelike models. Without these visual clues, it may be difficult to achieve a high level of realism. Moreover, reference pictures assist in maintaining uniformity between projects. Your teams may use the same collection of photos to ensure uniformity in design aspects, which is crucial.
10-Step guide to taking reference photos
Taking good reference photos is not just about snapping what’s in front of you. It is about getting useful details you will need later. Whether you are an artist, designer, or 3D modeler, solid reference shots save time and boost accuracy. This 10-step guide breaks down how to plan, shoot, and organize your photos. You will know what angles to get, how lighting helps, and which tools make the process easy. No fancy gear is needed, just a bit of prep and attention to detail. Get ready to step up your workflow with practical tips that work in real-time creative projects.
Step 1: Get the space ready
Set up the area where you will take pictures for 3D modeling. Make room for the furniture. Get rid of anything that could get in the way of your shot. Get rid of as much trash and other things that might catch someone's eye as possible so that they can see the whole piece of furniture.
The light ought to be even all the way across. Stay away from headlights because they cast shadows and bright spots. All the lights should have the same brightness. Natural light is best. If you use artificial light, make sure it's spread out so there aren't any harsh shadows.
Step 2: Pick a suitable camera and settings
As important as the camera is, the quality of the reference pictures you use for 3D modeling is the same whether your device is a mobile device or a DSLR. It's preferable to use a high-resolution camera or the high-resolution setting on your smartphone if you can. Take a few test shots with every camera at various sizes and levels of clarity until you select the best one for your needs.
Check to see if your camera is in manual mode. The aperture should be set to f/8, and ISO the ISO should be set to 100. Set the shutter speed to 1/250 if your camera lets you. For a mobile device, switch to manual mode and use the buttons on the back to set the brightness and focus. Many shooters use tripods to keep their cameras steady. If you want to take pictures without one, you can prop your camera up against a wall or table.
Step 3: Choose the lens that works best
If you pick the right lens, you can see your subject from a different angle. If you have a normal or wide-angle lens (18–50mm), try taking pictures of things that are about 15 to 20 feet away.
When you use a 70-200mm zoom lens, you should shoot from about 50 feet away. When mixed with the motion blur effect after the fact, this will contribute to making the effect more powerful.
Step 4: Look at the lighting in the pictures you use as source material for 3D modeling projects.
You should stay away from strong artificial light and direct sunlight. However, utilize natural or indirect light sources. If you need to, you can use a lightbox for small, specific things. Set up the pop-up flash on your SLR to light your subject from the side or above.
This approach will keep the shadows from being too sharp. When possible, consistently employ natural light and move around your item rather than trying to change the lights that are nearby.
Step 5: Take pictures from different angles and points of view
Alwatonse tonnes of pictures when you need them for a job. Cover the back, front, left, and right sides, as well as the top and bottom views, if you can. You may also capture pictures from the same angle but from a distinct perspective.
Such data will give the 3D artist more information to work with when they start to turn a picture into a 3D model. Using these images as 3D modeling references will save you time and prevent you from making assumptions about the final product.
Step 6: Stick to your routine
Not only should you keep an item at the same height across all of your shots, but you should also avoid moving too far away from the subject so that the amount of furniture that can be seen in each shot is the same.
You should also keep the camera angle the same from one shot to the next. This feature allows you to make sure that the sizes are correct between shots. If necessary, use an item whose size you already know to determine the scale.
Step 7: Think about post-processing
The first thing that needs to be done in post-processing is to change the picture's brightness and contrast. These steps must be taken to make sure that all pictures of the scene have the right exposure so that the lighting is the same in all of them. Also, the contrast is raised so that you can see the model's features even in dark or shadowy parts of the picture. Next, fix any lens warping. You can do this with a lens correction filter, such as the Lens Correction Filter in Adobe Photoshop. If your picture is twisting or bending because of distortion from your camera lens, this will help get rid of it.
It's vital to remember that pictures should be saved at their original resolution. If you change their size, you will lose information. It is time to crop your reference pictures for 3D modeling after you've changed the exposure and turned them upside down to get a better look at the item. Cut off as much of the extra as you can. Another useful tip is to move your picture a little so that the subject is facing straight ahead. This will make it simpler to add the picture to a program for 3D modeling and rendering.
Step 8: Sort and label your pictures
It's time to organize everything once you have the reference material you need for your next 3D job. All of your reference material should go in a folder or projectable. I added all of the pictures to it. Label and name pictures clearly so they are easy to find later. Put them in a folder with names that make sense, like "FrontView_001" and so on.
You can also sort your pictures into groups based on the kind of picture it is. You might find it useful to have different folders for line art (which you can use as a manual when modeling), texture maps (which tell you about lighting and shading), and high-quality reference shots (which help you show how the product really looks).
Step 9: Give more information
Add plans or CAD files to your area of work if you've got them. This can cut down on work time by a lot since there will be no more back-and-forth about sizes and materials. If not, give rough centimeter measures for each picture or other attachment (like a sketch with notes).
You need a complete visual guide that shows everything from the materials used to the color schemes to where things are put when you are done putting in every detail. It will be less difficult for the outside company to meet your needs if your reference shots for 3D modeling are clear and full of details.
Step 10: Make it clear what you need from the result
There are various ways to do 3D modeling, but one of the most essential things is knowing what the result looks like. It is good to think about what it will be used for and what software you prefer. In this instance, you could use 3ds Max to make models for photorealistic pictures in a web or mobile game to make an interactive model.
List any needs you have for the final model, like file formats, polygon limits (the maximum number of points and polygons that can be in an object), and size limits in megabytes. Think about how thorough the design and textures should be.
For instance, if you are creating a 3D model for an augmented reality (AR) experience, where real-time objects overlay with digital material through a smartphone camera. You will need to state the type of environment that is required, such as indoors or outside, t,o your 3D artist. Moreover, giving a 3D artist more details about what you want and its purpose can help them better understand your demand.

Benefits for brands
Clear reference images are the basis of structured 3D models. For brands, they are not just helpful but important. When your teams give proper reference images, the 3D model creator can work fast with few revisions. This cuts down on the total planning cycle and makes production much cheaper. Artists don't have to move back and forth to get things right. Instead, they can use visual signals to figure out shapes and small details right away. This helps save money and time, especially in processes with many product designs.
It is also easy to plan 3D models when the reference pictures are clear. Then, 3D designers can plan and create suitable models. In fact, having a reference picture at hand will help the team members to work smoothly together to create a suitable 3D model for the brand product.
Also, all of your digital assets, from product shots to interactive augmented reality material, have precise dimensions, hues, and design cues when you utilize standard reference photos. No matter where consumers view a company's content, it helps them retain a strong, identifiable brand personality and maintains their image consistent across platforms.
Reference pictures are important because they help make things look real. Customers today expect correct information about goods they see online. Small changes in size or color can break trust if you don't have good reference material. Photos that are clear and full of details help 3D models have realistic lighting and backgrounds, which means they can be used for virtual photography, catalogs, and shopping tools that make you feel like you're there.
Sites that provide reference images
Some brands do not have the time or resources to take their reference images from afresh. That is where sites that are just for that come in. Each of these platforms has carefully chosen images that can help with precise, consistent, and qualified 3D modeling. Getting a correct visual source speeds up the entire process and improves results.
The best part of it? These pictures are already organized and sorted by purpose, so they are ready to be used creatively. You can trust these four sites to help artists, businesses, and companies save time and still get high-quality images that fit their brand goals.
1. Dimensions

If you work with scale-based models, Dimensions is the tool you should use. It has tens of thousands of actual-life product diagrams, technical drawings, and reference sheets for technology, furniture, cars, and even people.
It saves hours of measuring by hand and cuts down on mistakes because every picture has size tags and object proportions. The site makes it less difficult for brands that focus on building and interior design to keep the accuracy of space and show ideas that look like they belong in real life.
2. The Blueprints
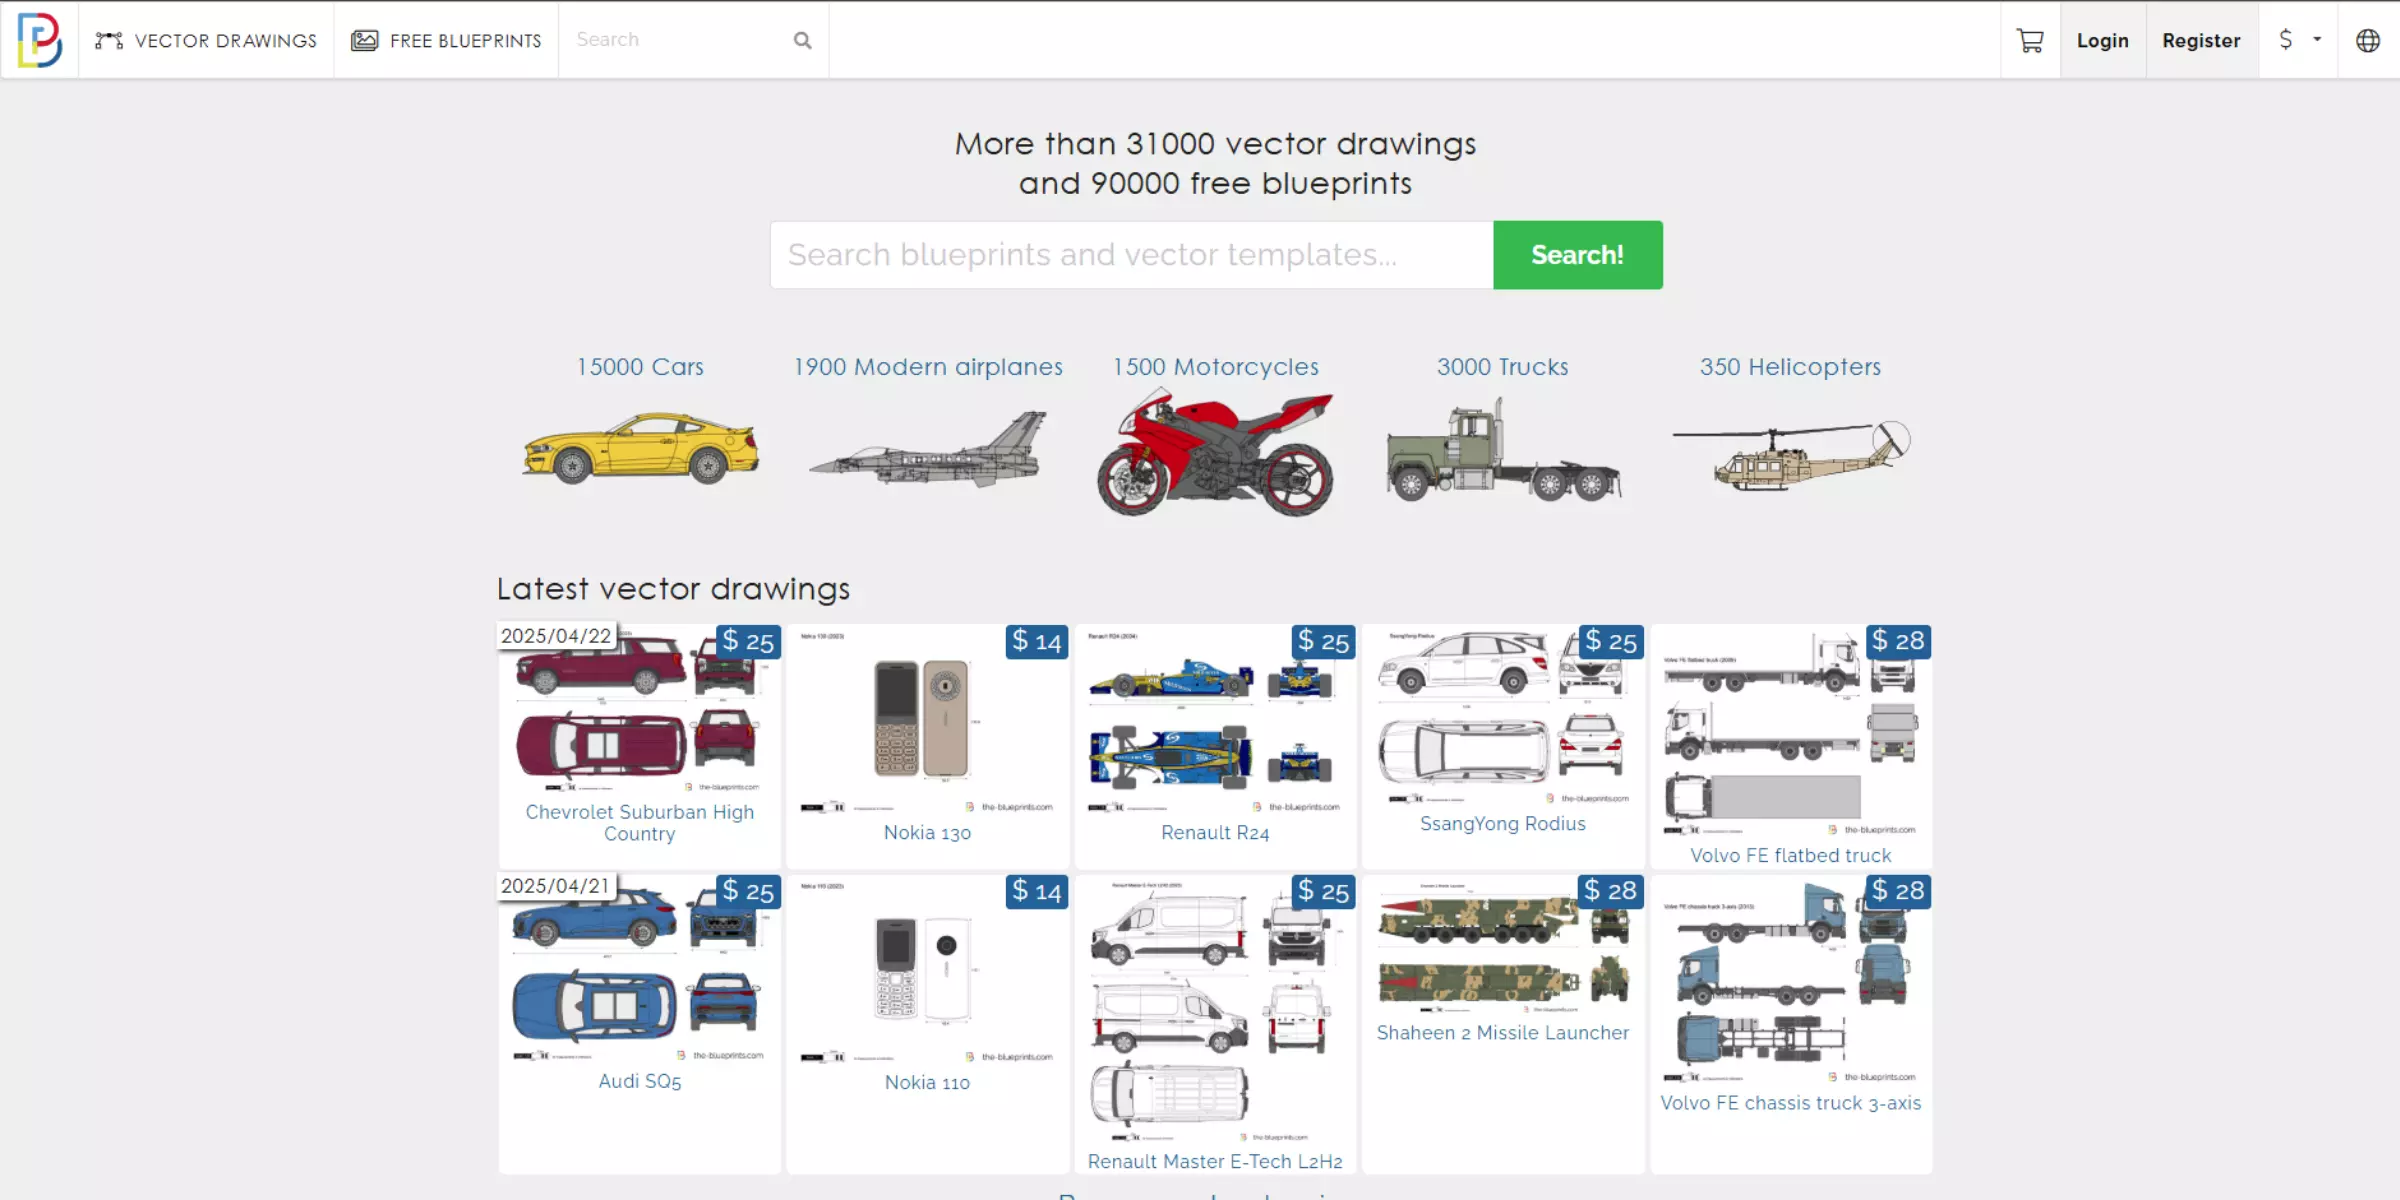
The-Blueprints.com has technical plans and graphic references, just like its name says. It works really well for 3D modeling in the automobile, aviation, and industry fields. You can download the files in a number of different forms, so you can easily change their size to fit your digital space.
Modelers use these when accuracy and detail are crucial. The tool is also useful for people who are just starting and want to learn how structures are put together before they start from scratch.
3. Photobash
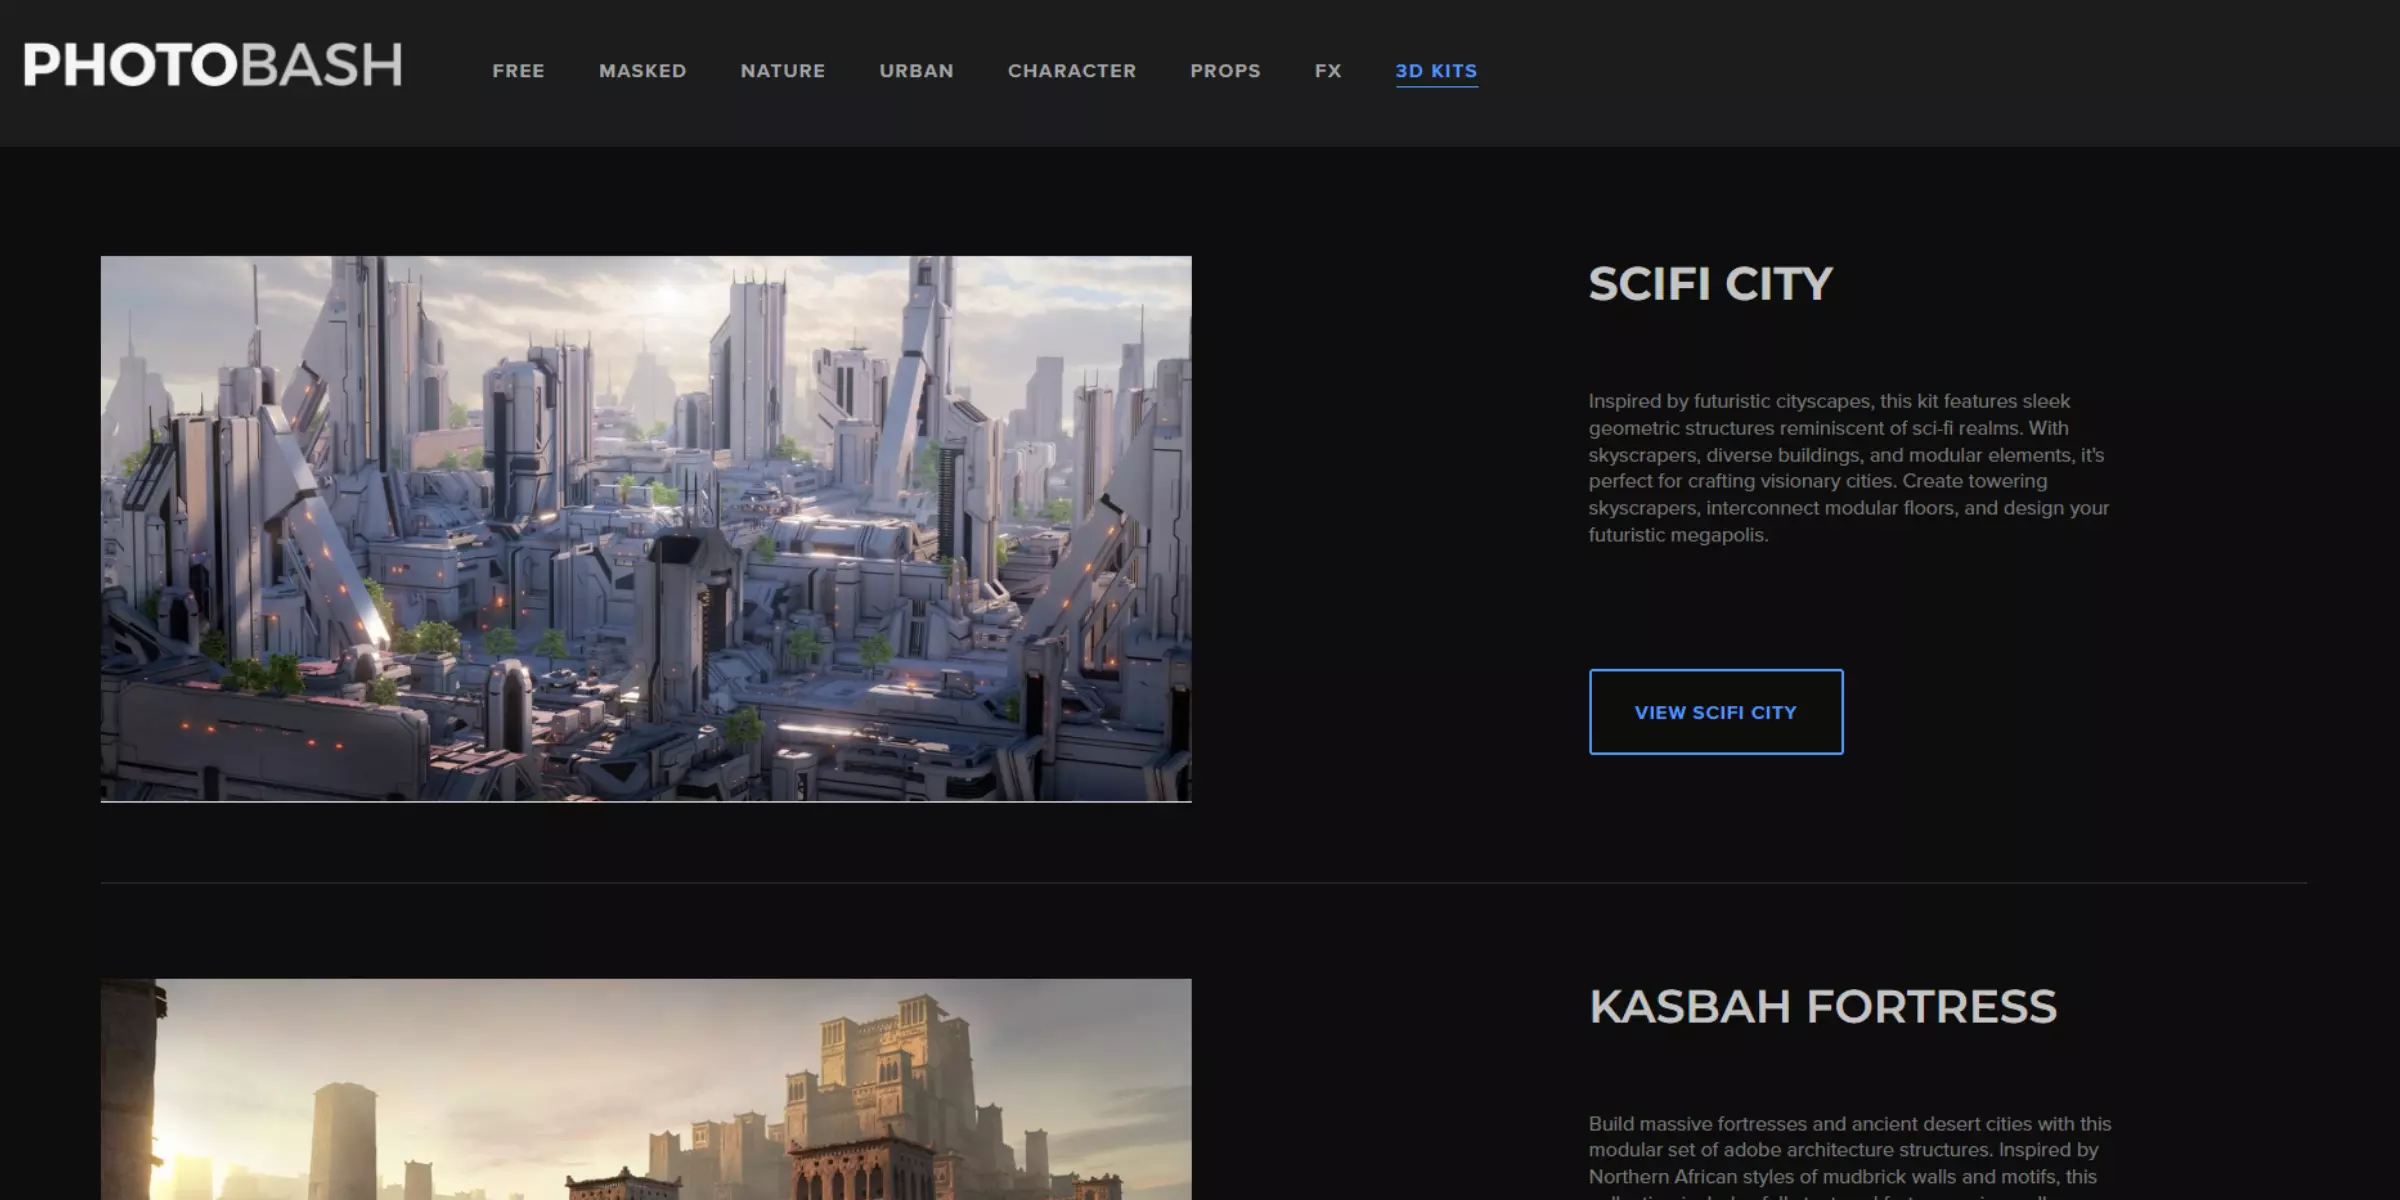
Photobash has themed picture packs that you can use to find models for texture, state of mind, and setting. Instead of product shots, it's all about creatively making worlds. It is used by artists in ads, games, movies, and other media to get realistic effects of surfaces, plants, cities, and sci-fi worlds.
You can use these pictures to make stylized 3D art where the mood is just as important as the reality. For creating realistic scenes or settings that make you feel like you are really there, Photobash can help.
4. 3D.SK
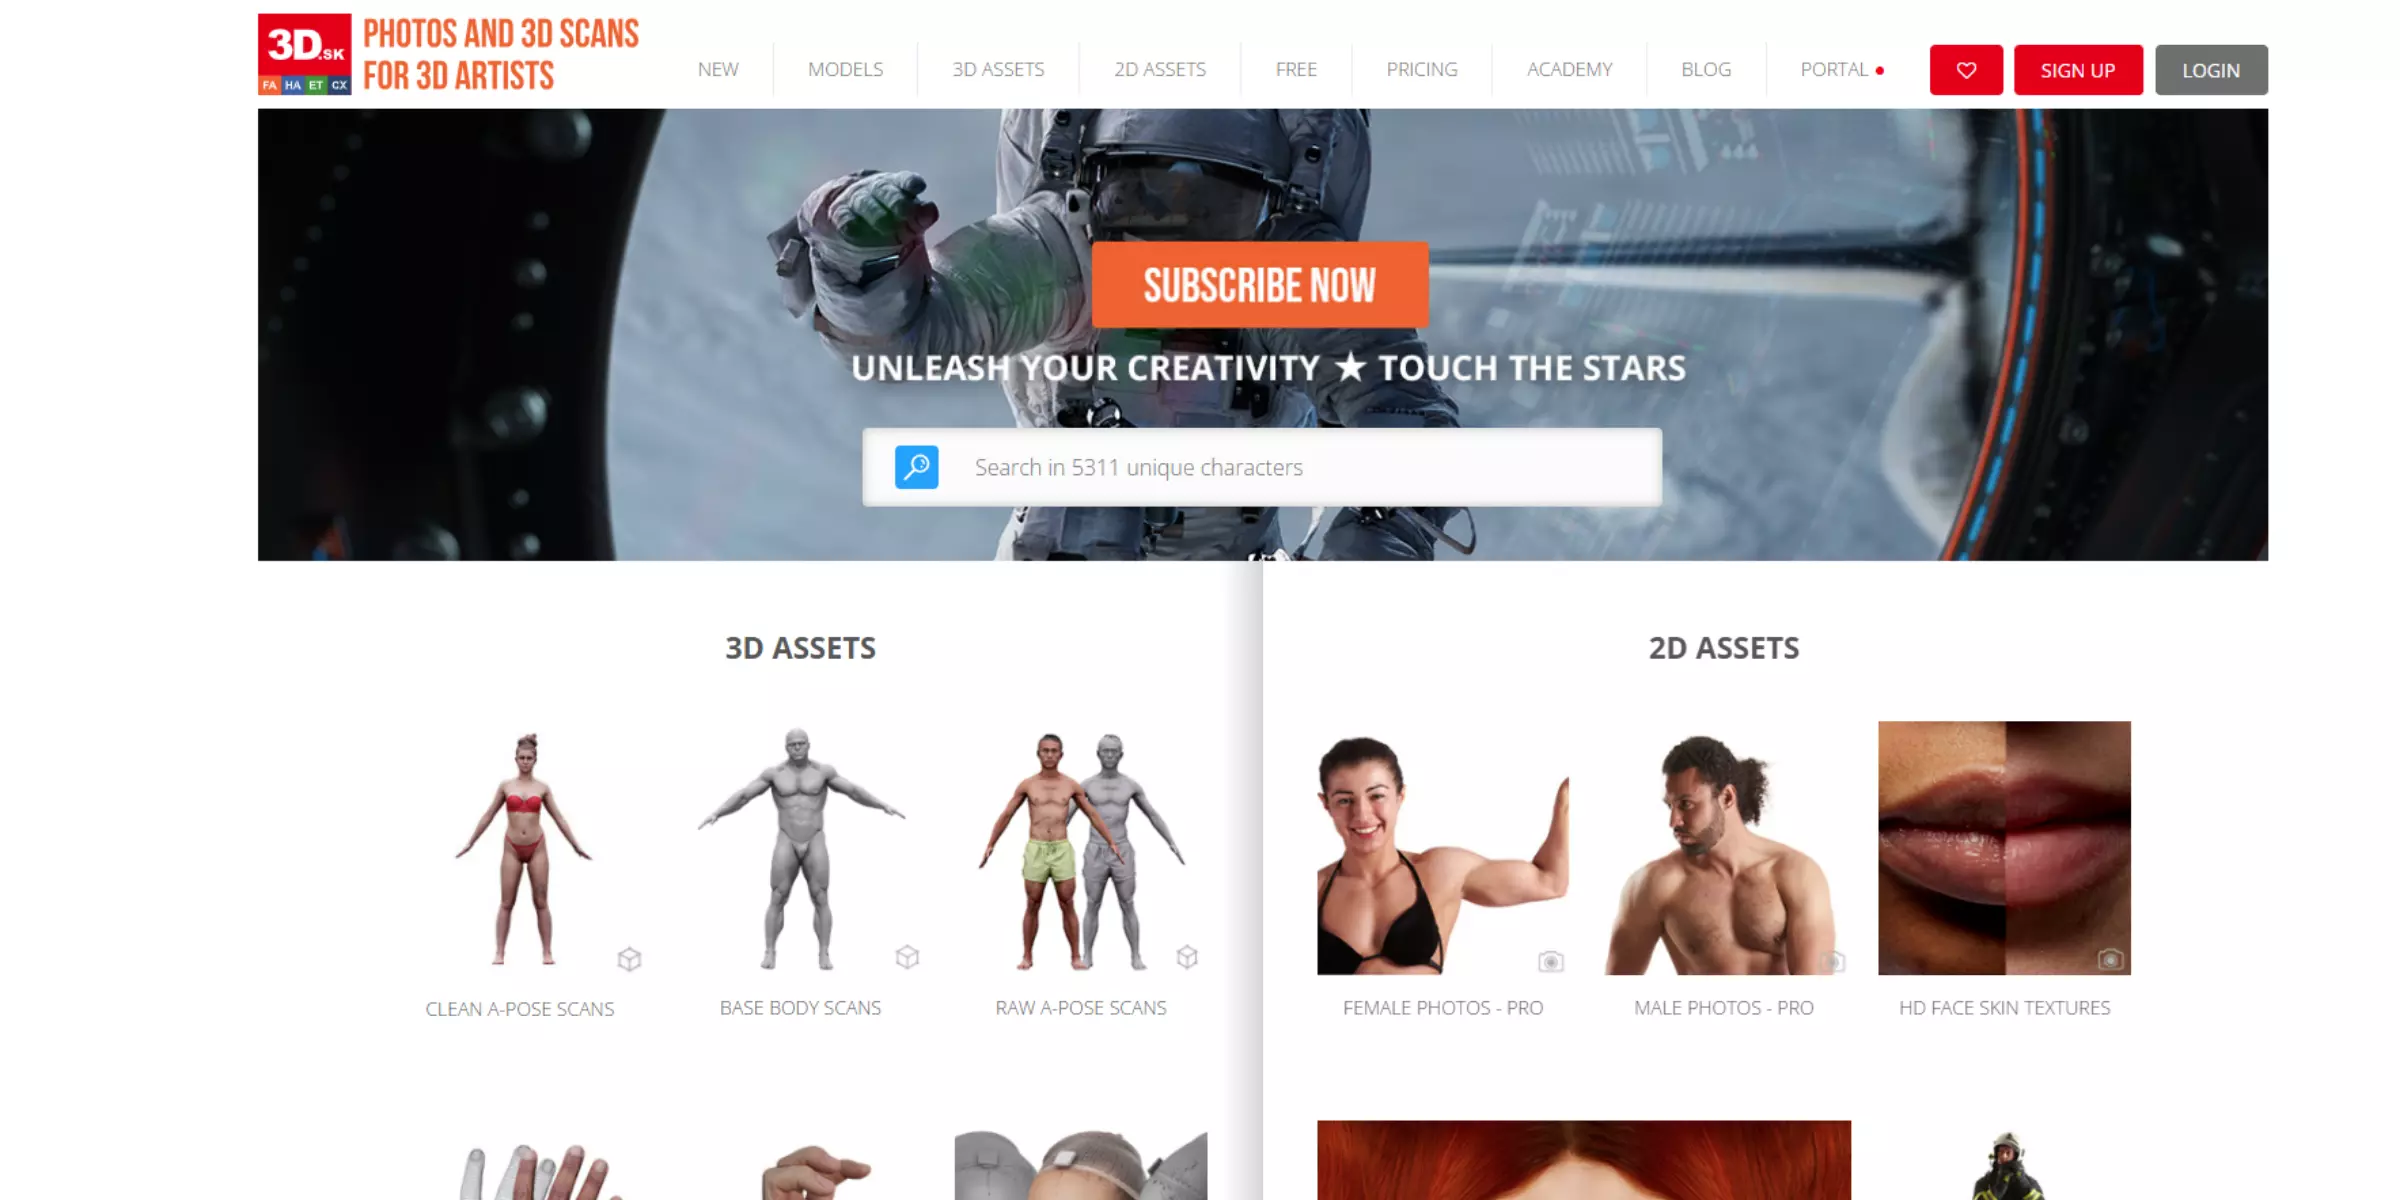
3D.SK is best known for its human body and character inspirations. It's used a lot in VR, games, and character creation. Body scans in high resolution, face packs, clothes examples, and motion sets can all be found on the site.
Details like skin texture, posture, facial emotions, and movement are what make this valuable. 3D.SK speeds up production for brands making virtual models, realistic dolls, or digital people while making sure that all character assets are the same.
Using GlamAR to provide a 3D model for your business
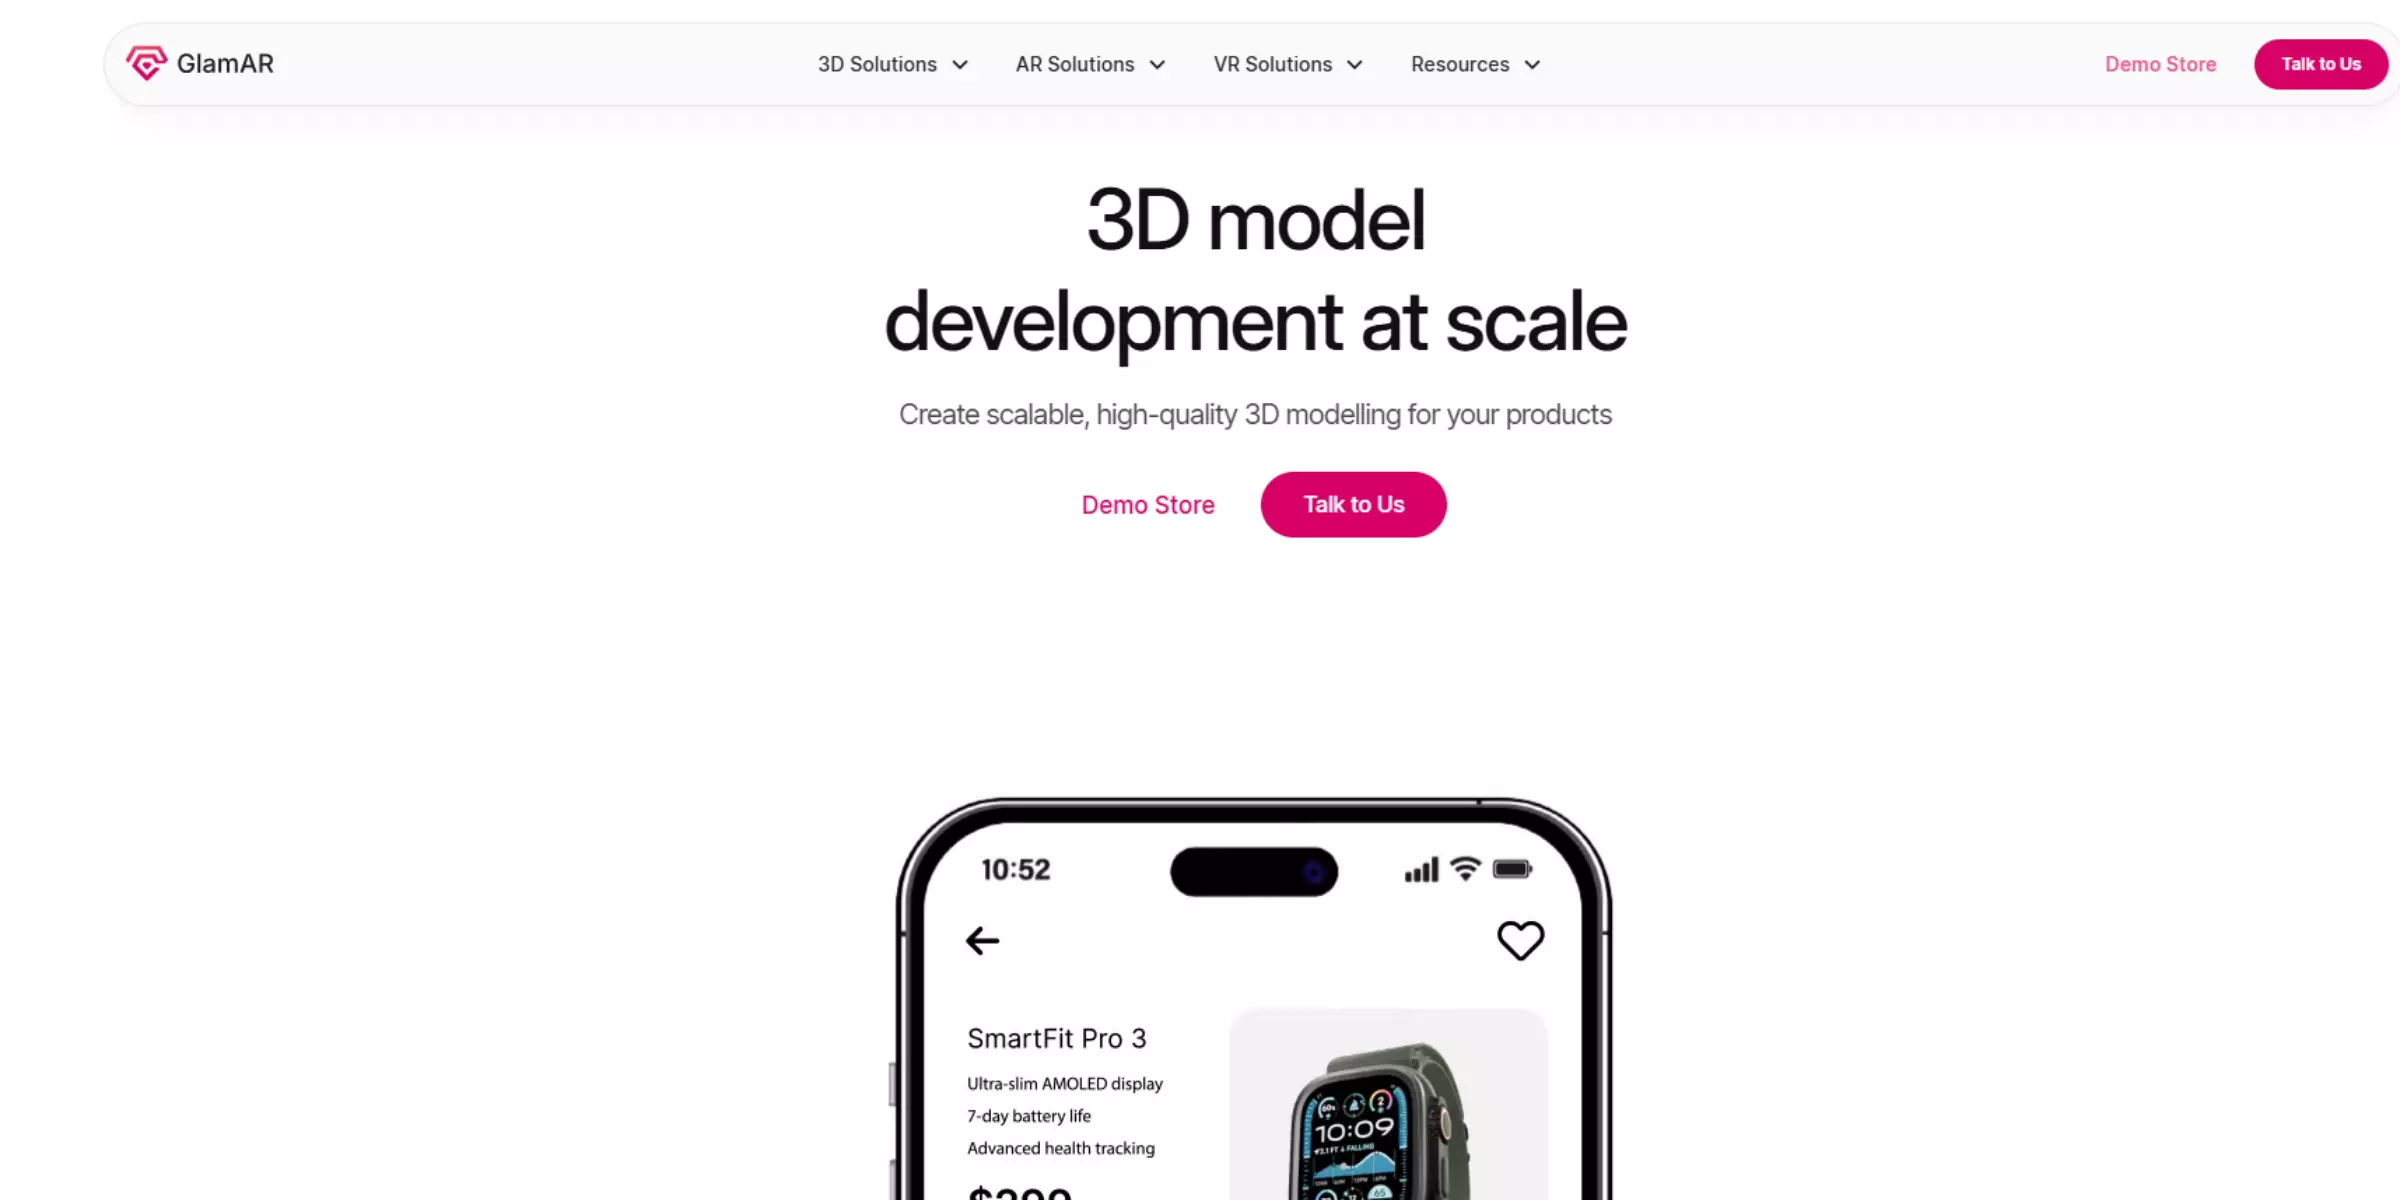
GlamAR is far more than just a site for virtual try-on; it is also a valuable tool for online stores that want to make their 3D product images look more real. The 3D model images are made straight from client product uploads on the site. Our team will ensure to create realistic and high-quality 3D models from what has been uploaded. After it has been approved, it can be published as an interactive 3D model across channels with a simple 2-3 line code.
Most importantly, we ensure that the size, color, and shape of the products are correct, which will be reflected in the 3D model. GlamAR works with both high poly and low poly processes so that creative teams can use the one suitable for the selected platform. We also ensure that product data and 3D-ready images are linked in a way that makes it unique. This makes it perfect for brands that want to offer shopping, augmented reality previews, and virtual try-ons.
{{component="/internal/widgets"}}
The future of reference images for 3D modeling
Brands are changing how they take and use reference photos. This process is becoming faster, easy, and better to use with the help of AI, automation, and AR-based tools. Your teams will no longer have to spend hours planning shoots or scanning items by hand. Instead, they can use AI-powered apps that take just a few photos and turn them into correct 3D photos.
AR tools let designers see how models will look before they are created. That changes many things for furniture, home decor, and clothes businesses. They can see previews of goods in real-time, make changes to them right away, and not have to guess. This speeds up development and cuts down on costly redesigns.
More and more, automation is being used in everyday tasks. Certain platforms will now suggest the best camera positions, lighting, or views depending on the information that needs to be modeled. Small companies and design teams that work for companies save a lot of time with this.
AI-enhanced reference shots aid brands in making more precise virtual try-ons, which allow product demos and ads that are very specific to each person. This has begun to get people more interested. Also, increase the number of sales in areas including fashion, shoes, and accessories.
High-quality reference pictures are going to grow even more important as 3D modeling is used more for virtual shopping, branding, and the release of digital products. But getting better shots is not the only thing that will be important in the future. They will also need to be more intelligent, move quicker, and require less work from people. If a business can adapt to this change, it will be able to grow and stay ahead in an environment where visual clarity is key to buying choices.
Conclusion
No longer is using reference pictures a choice; it's required. Any brand that uses 3D modeling needs pictures that are clear and well-planned so that they can be more accurate, work more rapidly, and save money. They assist teams in building models that are more like the real thing instead of guessing what it is.
Good reference pictures make it easier for designers and clients to talk to each other, cut down on revisions that need to be sent back and forth, and help keep branding uniform across all platforms. This method saves time and gives good results.
These are images that are used as a virtual model, which provides accurate and precise information about the images they represent.
This is the process of creating a 3D representation of a particular object or product.
One of the main benefits of reference images for 3D modeling to businesses is that it helps to present the images of your products realistically.
Sites like Photobash, 3D.SK, Blueprints and Dimensions are suitable sites where you can create reference images for 3D modeling.
Yes. Your business can leverage 3D modeling to provide maximum satisfaction for your customers. This makes your products look real.
GlamAR is a valuable tool for online stores that want to make their 3D product images look more realistic. Customized reference images are made straight from client product uploads on the site.
Discover how AR, VR and 3D can drive revenue growth in 2026
Schedule a call with our team

.png)